Build, save and export a custom report
Choose a collection, the exact columns, filters, related values and sorting; run it, summarise it, save it, download it.
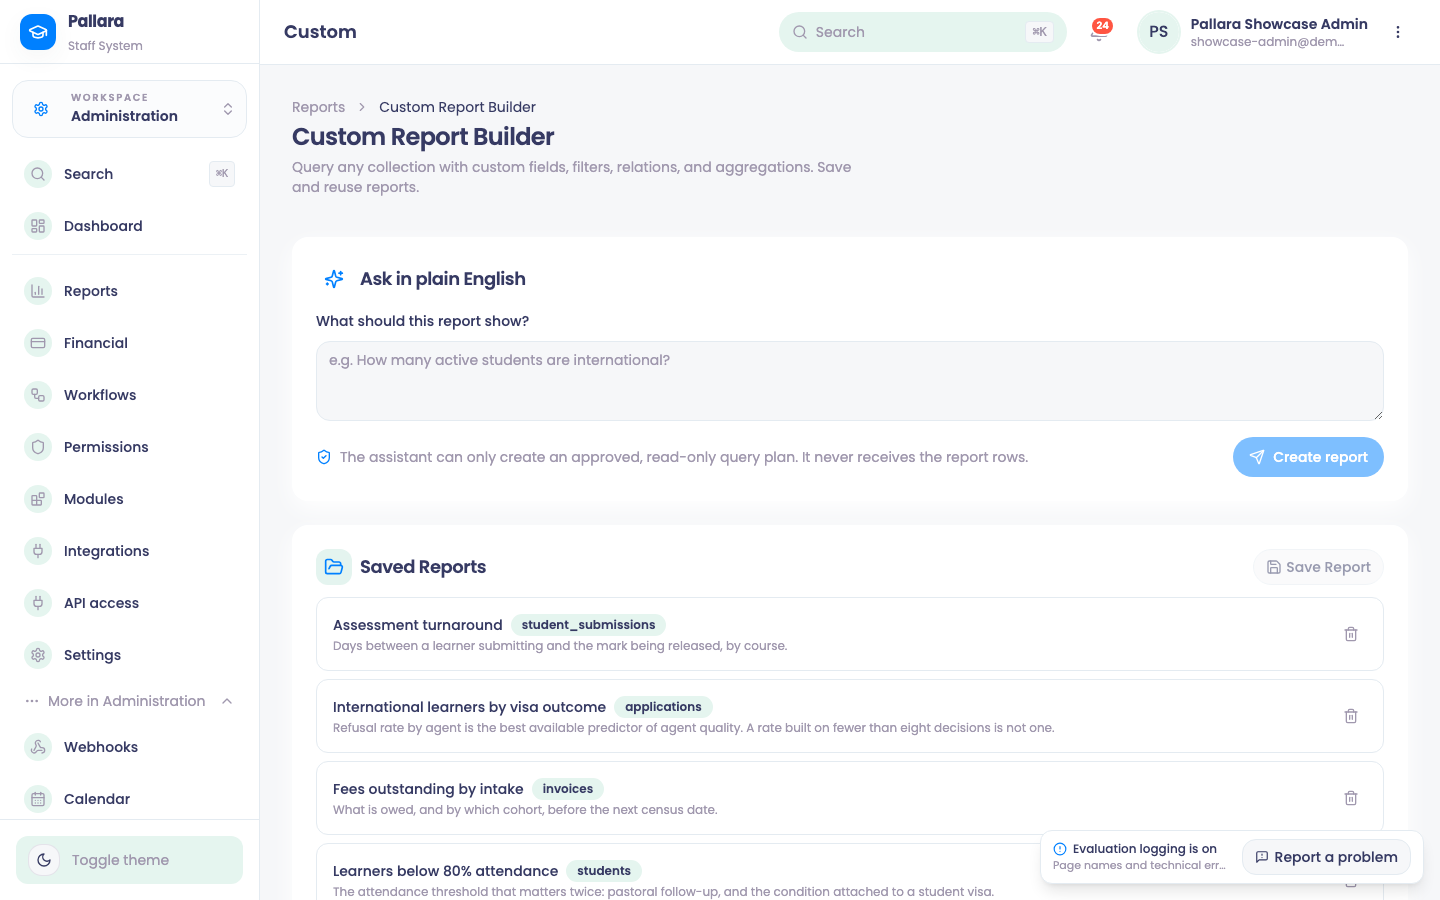
- Open Administration → More → Custom Reports. To let the assistant draft the query, describe it under Ask in plain English and select Create report — the assistant produces an approved, read-only query plan and never sees the report rows. Or build it by hand: in Collection, choose the source — for example Students.
- Under Fields, tick the columns. In Filters, select Add filter, choose a field and operator and enter the value —
statusEqualsactive, say. - In Relations, tick a related value where it helps; for students,
enrolments.statusadds anenrolment_statuscolumn. Choose Sort by and the direction. - Select Run Report and check the total, headers and rows. Download CSV produces the same query as a file.
- Turn on Summary Mode, choose a function and field (Count of
id) and a grouping field (status), then Run Summary. - Select Save Report, name it, and it appears as a card that restores the whole configuration when selected. Delete saved report removes one.
Was this guide helpful?